Latest News and Updates
Tutorials, press releases, and other updates from Twocanoes
Our client list includes satisfied customers from Fortune 500 companies, government agencies, and educational institutions.
Learn More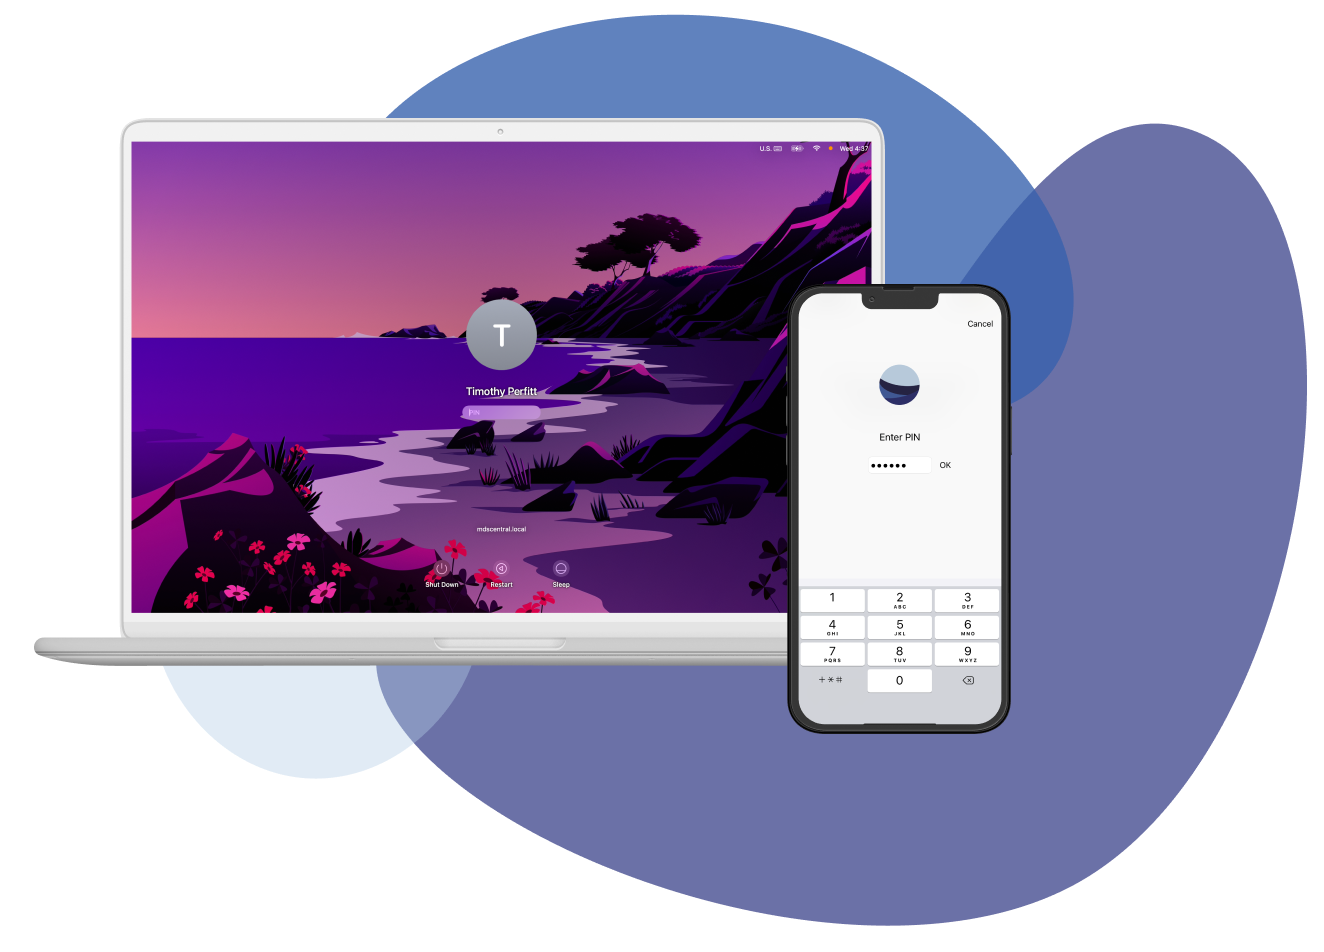
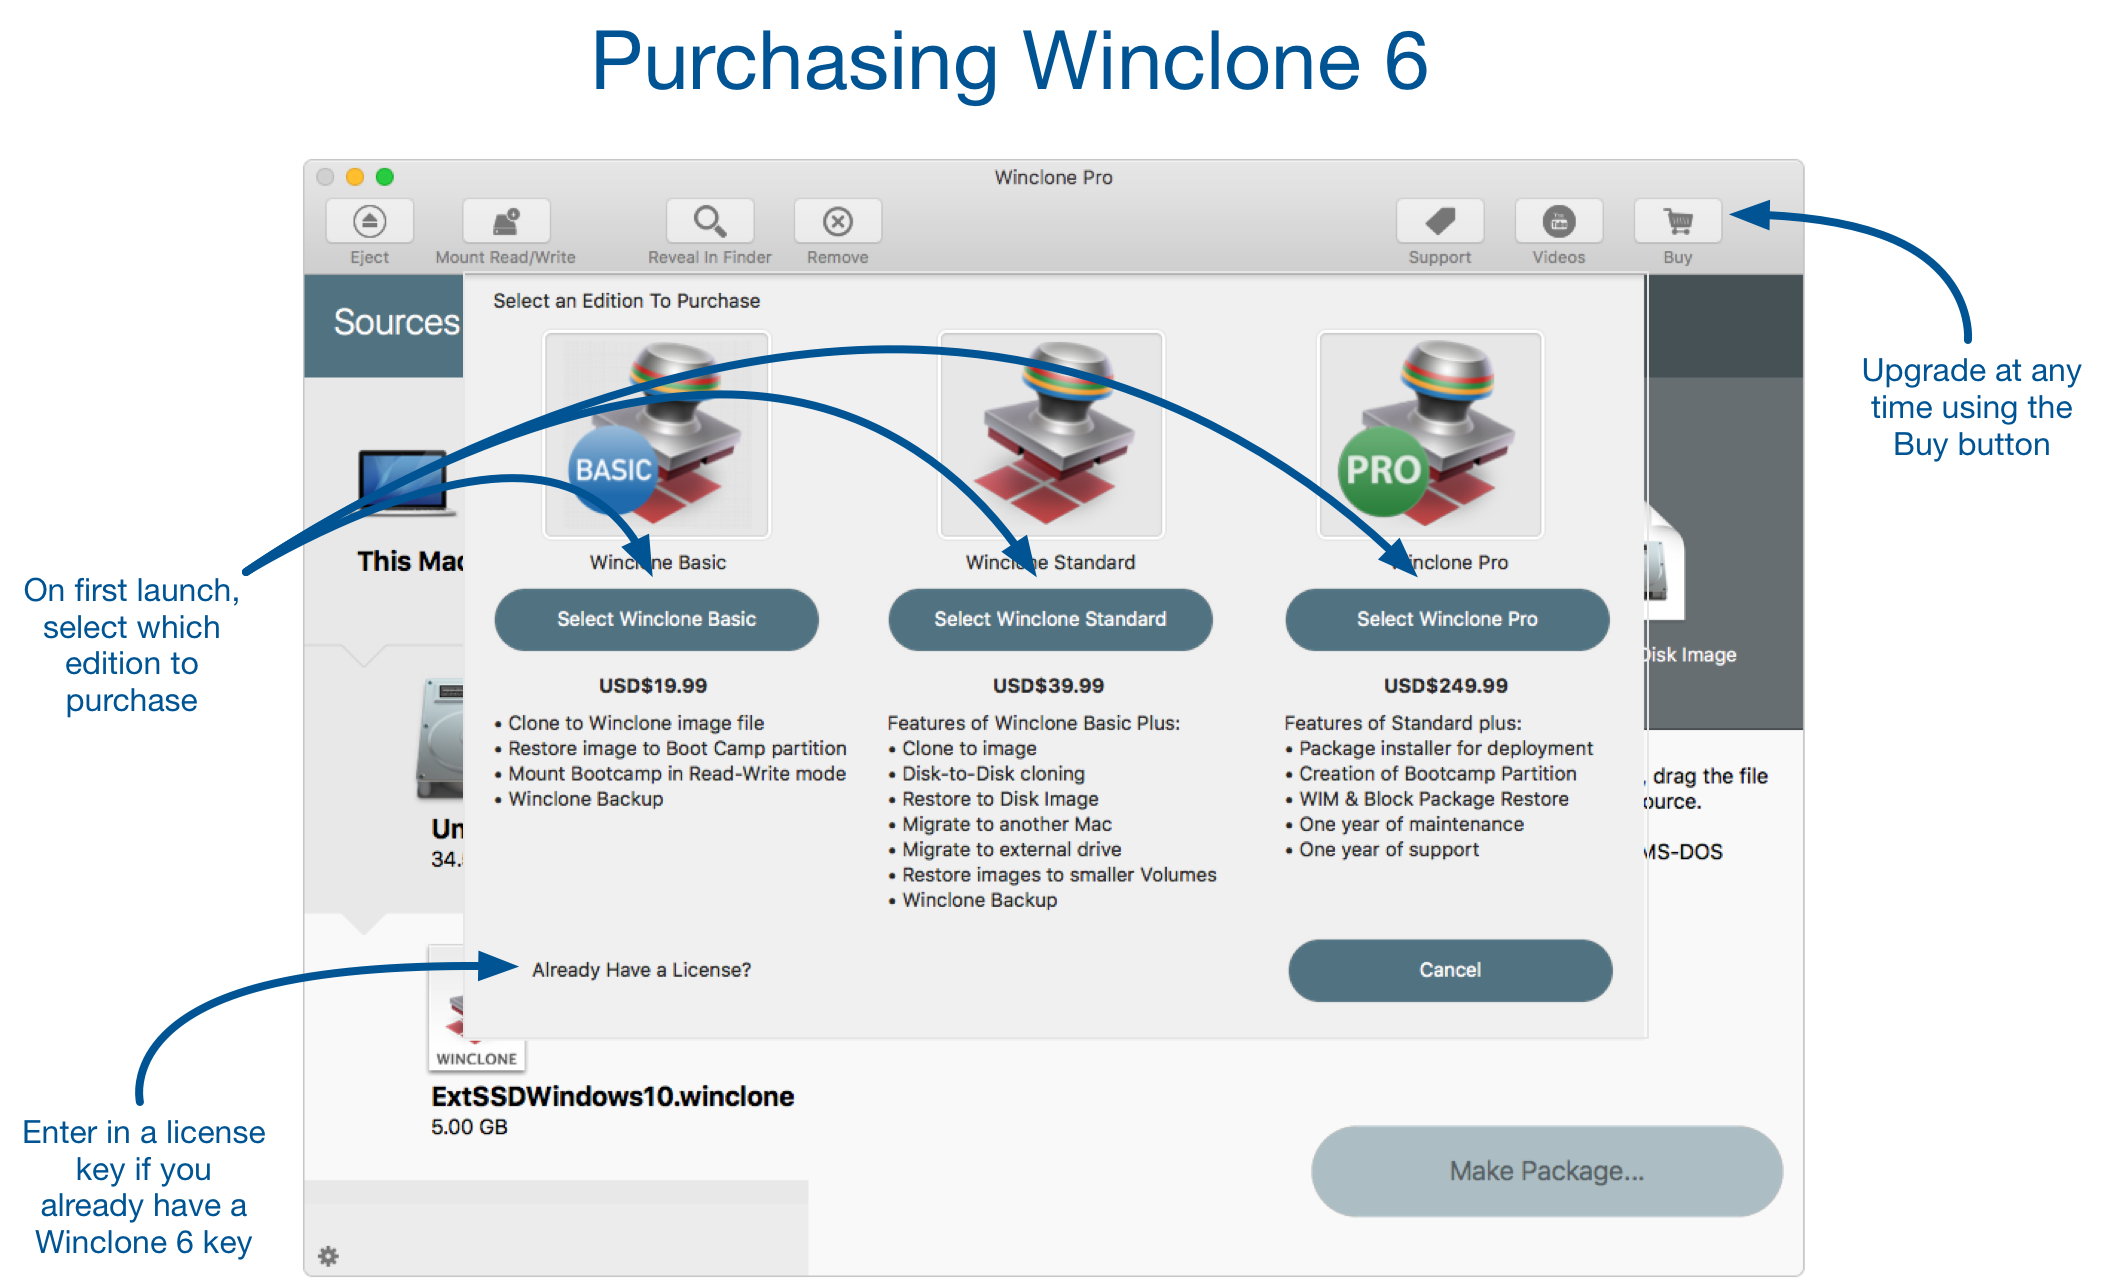
Winclone is downloading now. Winclone now offers
in-app license purchasing.
We focus on core technologies for authentication and signing on macOS and iPhone. From code signing to device attestation, we have the expertise and experience for complex solutions to modern identity.
Learn MoreThere is no excerpt because this is a protected post.
See Smart Card Utility for iPhone and iPad for more information.
The Twocanoes Software YouTube channel is filled with walkthroughs and tutorials for all our products
Visit Our YouTube ChannelFocusing on security, identity and deployment of Mac and iPhone devices, our product lines provide innovative and secure solutions.